
If you’ve ever spent an afternoon pulling weeds only to see them pop right back up a few days later, you know how frustrating it can be.
Weeds seem to have an endless supply of energy, growing in places they don’t belong, between patio stones, in garden beds, even sneaking up through cracks in the driveway.
Over the years, I’ve tried just about every method under the sun to keep them at bay. But if there’s one thing I’ve learned, it’s that you don’t need harsh chemicals to get the job done.
Why Natural Weed Killers Are the Way to Go
I used to rely on commercial weed killers until I learned just how bad they can be. Many contain glyphosate, a chemical that’s been linked to environmental damage and health concerns.
When you spray it in your garden, it doesn’t just kill it can affect beneficial insects, pollinators, and even leach into groundwater.
Switching to a natural alternative like vinegar, salt, and soap means I can keep my garden healthy while still taking down weeds efficiently.
Plus, it’s budget-friendly and made with ingredients you probably already have in your kitchen.
The Ultimate Natural Weed Killer: Vinegar, Salt, and Soap
This homemade weed-killing spray is my go-to for getting rid of unwanted plants. It dries them out quickly, attacking their leaves and preventing them from soaking up nutrients.
Unlike chemical herbicides, it won’t linger in the soil for months or harm surrounding plants so long as you apply it carefully.
What You’ll Need:
- 1 gallon of white vinegar (the stronger, the better, 5% household vinegar works, but 20% horticultural vinegar is even more effective)
- 2 cups of Epsom salts (or table salt in a pinch)
- ¼ cup of non-toxic dish soap (this helps the mixture stick to leaves)
How to Make It:
- Grab a large bucket and pour in the vinegar.
- Stir in the Epsom salts until they dissolve.
- Add the dish soap and mix gently.
- Finally, pour the solution into a spray bottle or a garden sprayer for easy application.
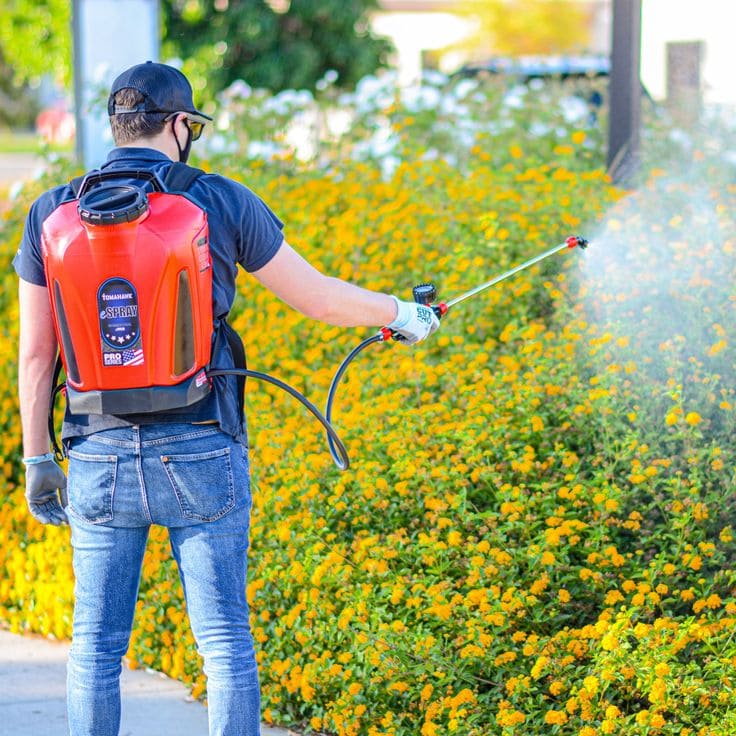
How to Apply for Maximum Effectiveness
Now that you’ve got your weed-killing solution, now pick a warm, sunny day with no rain in the forecast for at least 24 hours. The heat will help dry out the weeds faster.
Next, spray directly onto the leaves of the weeds, making sure to coat them thoroughly. Avoid spraying your garden plants as this mixture doesn’t discriminate between weeds and flowers!
Focus on young weeds. This solution works best on new growth rather than deeply rooted, established weeds.
Finally, be patient. You’ll start to see results in a few hours, with weeds wilting and turning brown. By the next day, they should be crispy and dead.
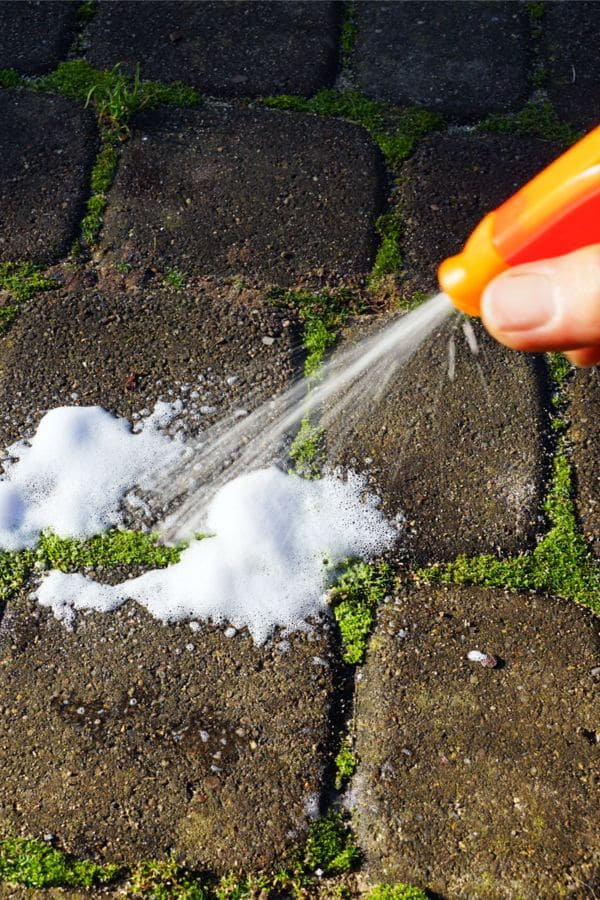
Where and When This Works Best
This mixture is incredibly effective on driveways, sidewalks, patios, and gravel pathways, anywhere weeds are growing where you don’t want them.
I also use it in my vegetable garden between rows, being careful not to let it drift onto my crops.
It’s not the best solution for perennial weeds like dandelions with deep taproots, but it will kill the top growth and weaken them over time. For tough weeds, I sometimes apply the mixture twice for extra strength.
SEE NEXT PAGE
ADVERTISEMENT
