
Homemade vs. Store-Bought: Elevating Your Choice
The debate between homemade and store-bought BBQ sauce is eternal. Both have their merits. Crafting your own sauce from scratch offers incredible control over flavour, sweetness, spice, and consistency. It allows for a truly unique signature taste that guests will rave about. You can tailor it precisely to your palate, adding extra tang, smoke, or heat as desired. However, it does require extra time and a few more ingredients.
On the other hand, the convenience of a good quality store-bought BBQ sauce is undeniable. There are countless fantastic options on the market, from smoky to sweet, tangy to spicy. The key is to choose wisely. Look for brands with natural ingredients and avoid those loaded with high-fructose corn syrup or artificial flavours. Even better, you can “doctor up” a store-bought sauce to make it your own. Add a splash of apple cider vinegar, a spoonful of brown sugar, a dash of Worcestershire sauce, a pinch of smoked paprika, or a touch of hot sauce to transform a good base into something extraordinary. This simple trick makes an ordinary sauce feel custom-made.
Types of BBQ Sauce: A Journey Through Regional Flavours
The world of BBQ sauce is vast and varied, often reflecting regional culinary traditions. Understanding these styles can help you choose or create a sauce that perfectly complements your ribs:
Kansas City Style (Sweet & Tangy): Perhaps the most popular, characterized by a thick, sweet, tomato-based sauce with molasses, brown sugar, and a tangy kick from vinegar or Worcestershire. It’s what most people envision when they think of BBQ sauce. Perfect for a classic, crowd-pleasing rib.
Carolina Style (Vinegar & Mustard-Based): Hailing from the Carolinas, these sauces are thinner and more assertive. Eastern Carolina sauce is pure vinegar and pepper, offering a sharp, tangy bite. Western Carolina (Lexington style) incorporates tomato and a little sweetness, but vinegar remains dominant. South Carolina is famous for its yellow, mustard-based sauce – a vibrant, tangy, and slightly spicy option that’s truly unique.
Texas Style (Savory & Meaty): Often thinner, less sweet, and more focused on the rich, beefy flavour of the meat itself. Sometimes incorporating beef broth, chili powder, and cumin, these sauces are designed to enhance, not overpower, the natural taste of the barbecue. Ideal for beef ribs.
Memphis Style (Dry Rub vs. Wet): While Memphis is famous for its “dry rub” ribs (where the seasoning is paramount and sauce is optional or served on the side), their wet sauces tend to be tomato-based, thinner than KC style, with a good balance of sweet, savoury, and spicy notes.
Choose a sauce that speaks to you, or better yet, experiment with a few different styles to discover your personal favourite.
When to Add Sauce: The Caramelization Conundrum
This is a critical question. Adding sauce too early in the crockpot can lead to a few problems: the sugars in the sauce can burn, creating a bitter taste, and the sauce can become too diluted by the liquid in the crockpot. The goal is to add the sauce *after* the ribs are cooked through and tender, then finish them off to achieve that glorious, sticky caramelization. The crockpot is for tenderness; the oven or grill is for the glaze.
The Broiler/Oven Finish: The Key to Sticky Perfection
Once your ribs are perfectly tender from the crockpot, carefully transfer them to a baking sheet lined with foil (for easy cleanup). Pat them gently dry with paper towels – this helps the sauce adhere better and caramelize more effectively. Brush a generous layer of your chosen BBQ sauce over all surfaces of the ribs. Now, for the crucial part:
Broiler Method (Quick & Intense): Place the baking sheet under a preheated broiler (high setting) for 3-5 minutes. Watch them like a hawk! The sugars in the sauce can burn quickly. You want bubbling, slight charring at the edges, and a beautiful, sticky glaze. This method is fast and delivers a fantastic char.
Oven Method (Slightly Slower, More Even): Bake the sauced ribs in a preheated oven at 200°C (400°F) for 10-15 minutes, or until the sauce is bubbly, glossy, and slightly caramelized. You can brush on a second layer of sauce halfway through for an even thicker glaze. This method provides a more even, less intense caramelization.
Grill Method (Authentic Char): If you have a grill, this is the ultimate finish. Place the sauced ribs on a medium-hot grill (over indirect heat if possible, or direct heat for a short time), brushing with more sauce, for 5-10 minutes, turning occasionally, until the sauce is caramelized and slightly charred. This adds an authentic smoky flavour that perfectly complements the tenderness.
This final step is non-negotiable for achieving that classic BBQ rib experience. It locks in the flavour, adds texture, and creates the visual appeal that makes mouths water. With your ribs perfectly cooked and sauced, what’s next? The ultimate pairing, of course! Because even the most perfect ribs need companions to complete the feast.
The Grand Finale: Serving Up Your Masterpiece
You’ve navigated the nuances of rib selection, expertly applied your flavourful rub, harnessed the tenderizing power of the crockpot, and finished with a glorious, caramelized glaze. The aroma filling your kitchen is a testament to your culinary prowess. Now, it’s time for the ultimate payoff: serving your masterpiece. The way you present your ribs, and the sides you choose to accompany them, can elevate the entire meal from simply delicious to an unforgettable dining experience. It’s the culmination of your efforts, where every detail counts.
The Importance of Resting Your Ribs
Just like any cooked meat, ribs benefit greatly from a brief resting period after they come out of the oven or grill. While the crockpot ensures tenderness, the high heat of the finishing step can cause the meat fibres to contract. Resting allows these fibres to relax and reabsorb the juices that have migrated to the surface during cooking. This results in an even juicier, more tender rib. Cover the ribs loosely with foil for 5-10 minutes before cutting. Resist the urge to cut them immediately; patience here truly rewards you with maximum succulence.
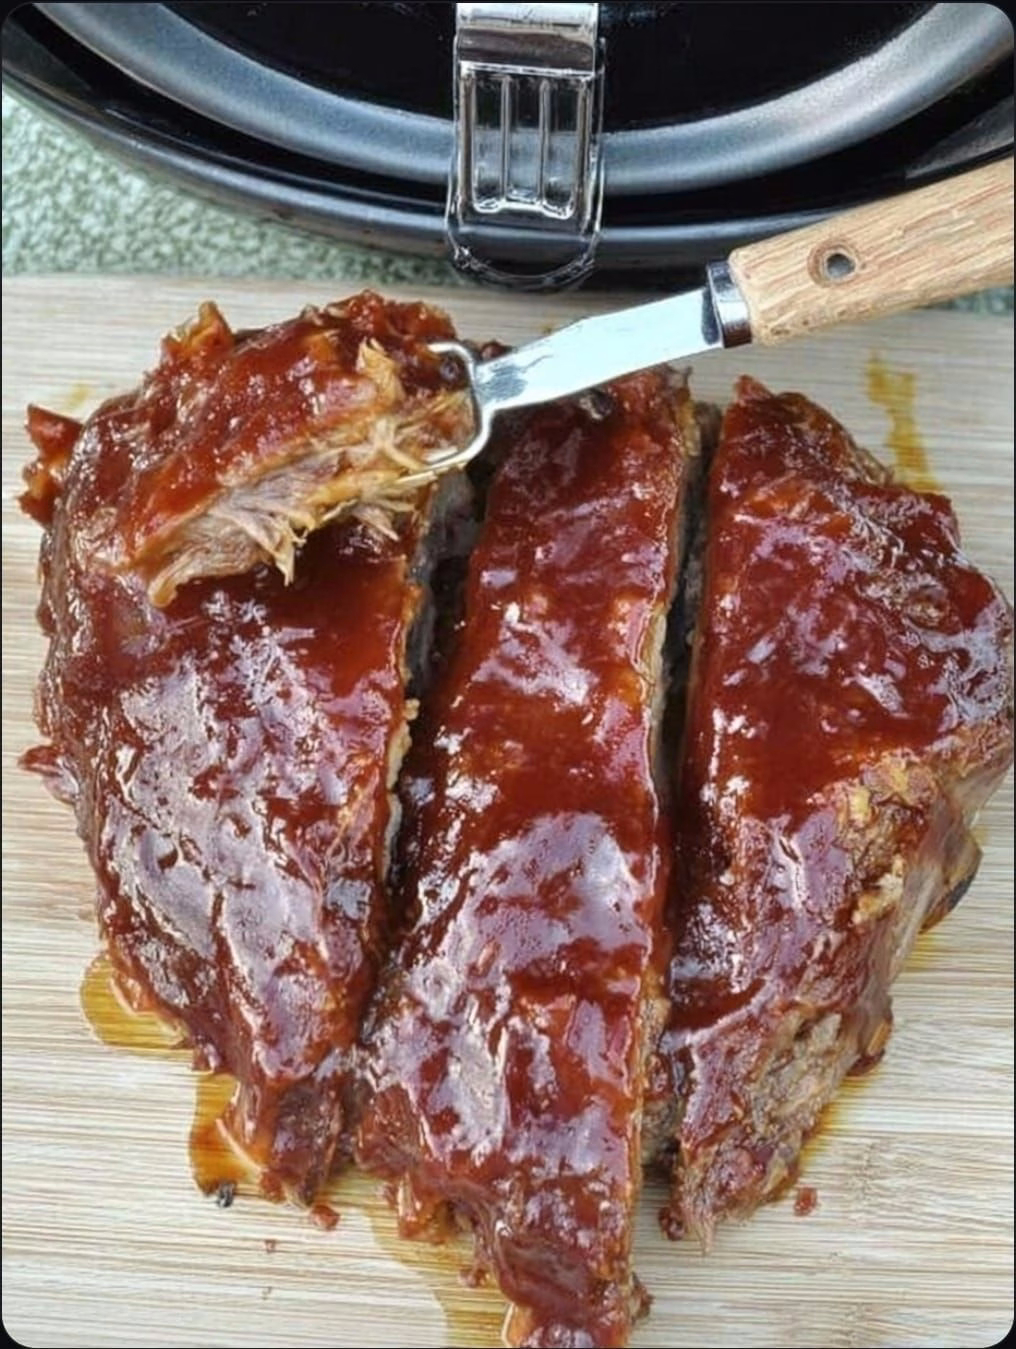
Cutting Techniques: Clean Slices for Presentation and Ease
Once rested, it’s time to slice your ribs. Using a sharp knife, carefully slice between each bone. Because the ribs are so tender, they might want to fall apart, so handle them gently. Aim for clean, even cuts. For St. Louis style ribs, the uniform shape makes this particularly easy. For spare ribs or baby backs, just follow the natural curve of the bones. If you’ve got extra meaty sections without bones, feel free to slice those into smaller, manageable portions too. The goal is easy-to-eat individual portions that are ready for hands-on enjoyment.
Read more on next page
ADVERTISEMENT
