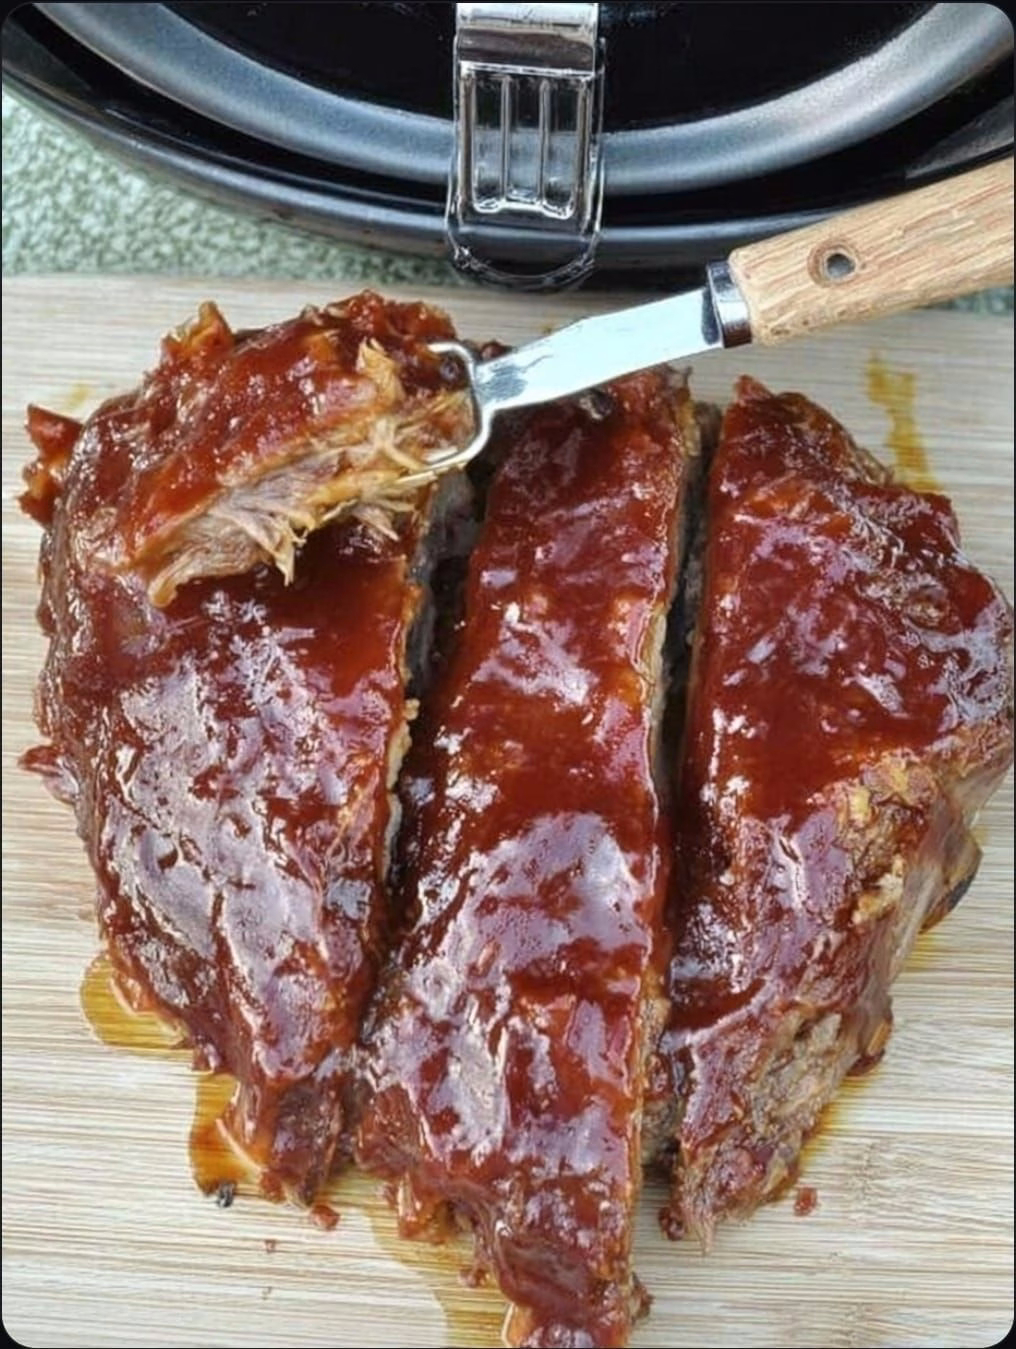
The Flavor Foundation: Crafting Your Signature Rub
With your ribs perfectly selected and prepped, we arrive at the heart of flavour: the dry rub. This isn’t just a sprinkle of spices; it’s the aromatic cloak that infuses your meat with depth, complexity, and that quintessential barbecue character. A well-balanced dry rub forms a flavourful crust and acts as the initial layer of deliciousness that permeates the meat during the long, slow cook. It’s the unsung hero, quietly working its magic to transform the raw protein into an unforgettable culinary experience.
Why a Dry Rub is Essential
Unlike a wet marinade, which mostly flavours the surface, a dry rub creates a concentrated flavour bomb that slowly penetrates the meat as it cooks. The salt in the rub helps to draw out moisture from the meat, which then reabsorbs with the dissolved spices, creating a self-brining effect. This process not only deepens the flavour but also contributes to the ribs’ tenderness and juiciness. It’s an essential first step for any serious rib endeavor, setting the tone for every bite that follows.
Key Components of a Killer Rib Rub
While exact recipes vary wildly, most effective rib rubs share a common core of flavour profiles:
Salt: The ultimate flavour enhancer. Use kosher salt or sea salt for best results. It’s the foundation upon which all other flavours are built. Too little, and your ribs will taste bland; too much, and they’ll be overpowering.
Sugar: Often brown sugar, it provides a crucial balancing sweetness and contributes to that beautiful caramelized crust we’ll achieve later. It helps tenderize and creates a wonderful counterpoint to the savory and spicy elements.
Spices & Aromatics: This is where you build complexity. Common choices include smoked paprika (for colour and smoky flavour), black pepper, garlic powder, onion powder, cayenne pepper (for heat), chili powder, and cumin. Don’t be afraid to experiment with less common spices like mustard powder, coriander, or even a touch of allspice for an intriguing depth.
Optional: Heat Elements: For those who love a kick, add extra cayenne, red pepper flakes, or a pinch of ghost pepper powder for extreme heat. Balance is key; you want warmth, not just raw fire.
DIY Rub vs. Store-Bought: A Philosophical Debate
While there are many excellent store-bought rubs available, crafting your own allows for unparalleled customization and a sense of personal achievement. It means you control the quality of ingredients, the salt level, and the precise balance of flavours to suit your palate. It’s also often more economical in the long run. However, a good quality store-bought rub is a fantastic convenience, especially when time is short. If opting for pre-made, read the ingredient list carefully, choosing those with natural ingredients and avoiding excessive fillers or artificial flavours. The best strategy? Have both on hand! Use a trusted store-bought one for speed, but always have your signature blend ready for when you want to truly impress.
The Art of Application: How Much and How Long
Applying the rub is more than just sprinkling. Pat your ribs dry thoroughly with paper towels before applying the rub. This helps the spices adhere better. Then, generously sprinkle the rub over all surfaces of the ribs, gently pressing it into the meat. Don’t be shy; you want a uniform, visible coating. Think of it like a seasoned blanket, not just a dusting. Aim for about 1-2 tablespoons of rub per pound of ribs, but adjust to your taste.
Once rubbed, you have options for marination. For maximum flavour penetration, cover the rubbed ribs tightly with plastic wrap and refrigerate for at least 2-4 hours, or ideally, overnight (8-12 hours). This allows the flavours to truly meld and the salt to begin its tenderizing work. If you’re short on time, even 30 minutes at room temperature will make a difference. The longer the marination, the deeper the flavour will permeate, transforming humble meat into a masterpiece. But once the rub is on, the real magic begins, transforming humble meat into a masterpiece. It’s time to unleash the power of the slow cooker.
The Crockpot Chronicles: Mastering the Slow Cook
Now that your ribs are prepped and beautifully seasoned with your signature rub, it’s time for the crockpot to take centre stage. This is where the magic truly happens, transforming tough cuts into succulent, fall-off-the-bone masterpieces. The crockpot is your trusty steed, patiently doing the heavy lifting while you go about your day. But even with its hands-off nature, there are crucial nuances to master to ensure your ribs emerge as legendary as you envision. The right liquid, proper placement, and precise timing are the pillars of slow-cooking success.
The Essential Liquid: More Than Just Moisture
While the crockpot creates a moist environment naturally, adding a small amount of liquid is crucial for flavour infusion, preventing scorching, and ensuring maximum tenderness. You don’t want to submerge the ribs; rather, create a shallow pool that will steam and infuse the meat from below. Here are some excellent choices, each contributing a unique flavour profile:
Apple Cider Vinegar: A classic choice for pork ribs. Its acidity helps break down connective tissue, contributing to tenderness, while adding a bright, tangy note that complements the richness of the meat. About ½ to 1 cup is usually sufficient.
Chicken or Beef Broth: Adds a savoury depth of flavour. Use low-sodium broth to control the overall saltiness, especially if your rub is already well-salted. Beef broth is particularly good for beef ribs.
Apple Juice: Introduces a subtle sweetness and fruity note, which pairs wonderfully with pork and can help with caramelization later. Be mindful of sugar content if your rub is already sweet.
Beer or Stout: Adds complex, malty, or hoppy notes. Darker beers work especially well, providing a depth that’s hard to replicate. The alcohol cooks off, leaving only flavour.
Read more on next page
ADVERTISEMENT

